Sometimes you just want to get the quilt done. Here is a fast and dirty way to bind a quilt- just make sure that what you've chosen for the back will also look good as the binding, because in this method, they are one and the same. In these photos, I'm just going to show you part of an edge and a corner. Ready?
Cut your backing a few inches larger all around than the top, as usual.
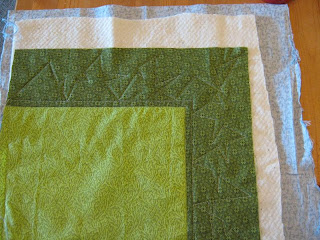
Layer it up and quilt it! BUT, don't quilt past the edges of the top...
...because the batting gets trimmed away. With scissors, trim the batting so that it is flush with the edge of the quilt top.
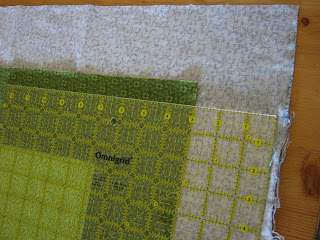
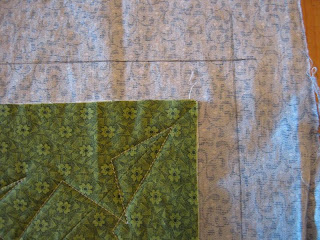
Pretty already! Now, using a grid ruler, mark the wrong side of the now-visible backing with a line that is 1 inch from the cut edge of the top/batting.
Now trim the backing along that line. You can skip the rotary cutter and just use scissors.
Okay! Now take your quilt to the iron, and carefully press that little 1 inch wide exposed backing in half, so that the raw edge of the backing touches the raw edge of the top/binding. Just press the backing fabric; do NOT press on your quilted top/batting. See how I'm scooting the iron just along that edge? You don't want to compress your gorgeous quilting.
Press in half right to the end.
Now, you're going to fold that pressed edge over your quilt top, covering the raw cut edge. Pin in place.
Go ahead and pin the whole side to the corner.
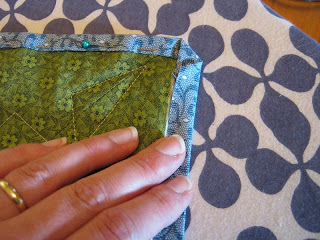
Fold the corner down on the diagonal, like this...
... and give a little careful pressing. Don't squish your quilting! Now, fold the next section of raw edge backing in half again, and do the careful pressing along the next side.
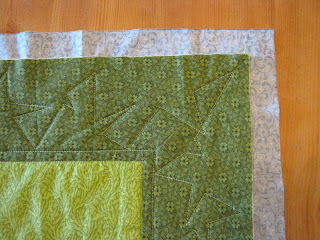
Now again, fold this pressed edge over the raw edge of the top/batting and pin in place.
Look at that pretty little mitered corner! Nice! Now you can stitch down the edge either by hand for an invisible finish, or you can take it to the machine and edge-stitch it in place.
I'd be inclined to machine-stitch, since that would give you a nice stitched edge finish on the back as well. Plus, it's faster, and I just want to get this thing done! TODAY!








7 comments:
Only YOU could make that method looks so good! I may just try it out.
What a great idea!
Such a good idea! I don't know why I never thought doing that. Thanks for the tip! Great blog by the way : )
So glad I found your blog. Your tips and photos are great and so helpful! Thanks!
THANK YOU, so very much for this post. I have been wanting to do this technique and I did not know how to do the corners. Great that you are Canadian too!
Alison
Great blog, so glad I found you when looking for directions for mitered borders, after looking through your blog I found other great tutorials and an overall great blog. Hope you will post more often. Bernie
As a fellow crafter, I know about wanting to get stuff done NOW! I love my project but wow, it needs to be DONE!
Post a Comment